How to Take a Professional Medical Headshot at Home
You do not need a studio to get a usable medical headshot.
Most people just need a clear process that avoids common mistakes.
This guide gives a simple at-home setup that actually works.
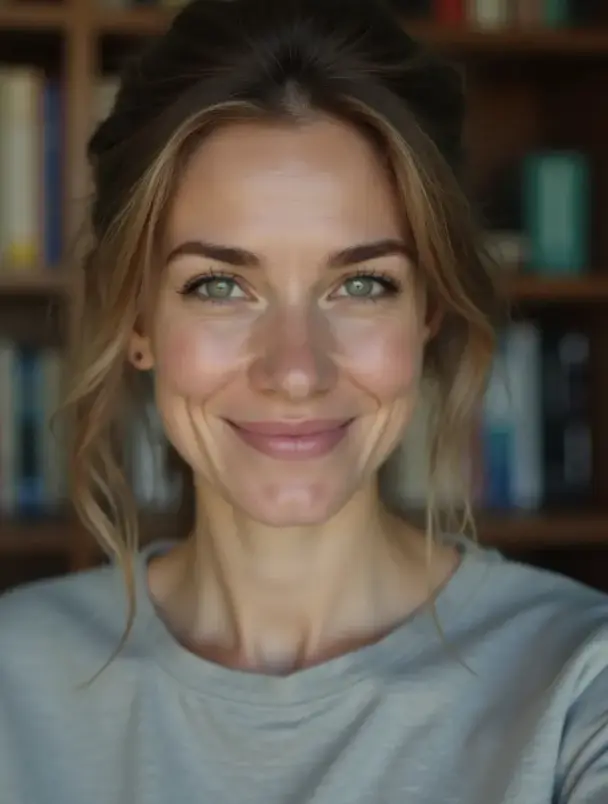
From Home Selfie to Clinical Headshot
This before/after example shows what happens when a simple at-home selfie is turned into a profile-ready medical headshot. Use this as your quality benchmark while following the steps below.

Step 1: Fix your lighting first
Face a window with soft daylight.
Avoid direct sun on your face because it creates harsh shadows.
Step 2: Remove background distractions
A plain wall works well.
Remove clutter so the focus stays on your face.
Step 3: Frame, shoot, and pick your best image
Place the camera around eye level and frame chest-up.
Take multiple shots with small expression changes, then choose the most natural one.
- Eye-level camera
- Chest-up framing
- Natural expression
Frequently Asked Questions
Related Pages
Turn a Home Selfie Into a Professional Headshot
Use these steps, then generate polished options you can publish on profiles and team pages.